Welcome Guest ( Log In | Register )


Rating of Brakelight Covers
Rating of this topic is 9.5 by 8 raters. Guests cannot rate topics.
 
Brakelight Covers, Custom Taillight/brakelight Designs
MxSixSpeed
Newbie
Group: Members
Posts: 6
Member No.: 51
Status: Offline
Posted:Oct 13 2002, 03:33 AM
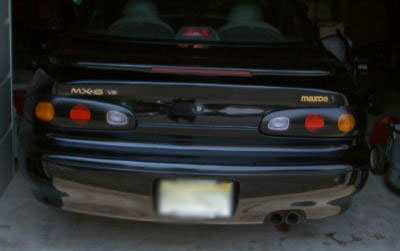
Project: Taillight Covers

Materials

  • Vinyl Sticker Material available at StickerCity *Look for the Vinyl Sunshade*
  • Razor Knife
  • Window Cleaner and Paper Towels
  • Ruler
  • Sewing Needle or Pin
    *Optional*
  • Protractor with razor knife attached (Used to make perfect circles)


Method


Step 1 - Thoroughly clean your taillights with the Window cleaner, and then dry them. Make sure there is no dirt around the edges of the taillight housing or else the Vinyl will not adhere as well.

Step 2 - Take your ruler and pre-measure/write down where your lights are so when its time to cut out your shapes in the vinyl you know where the brightest part(s) of the taillight will be.

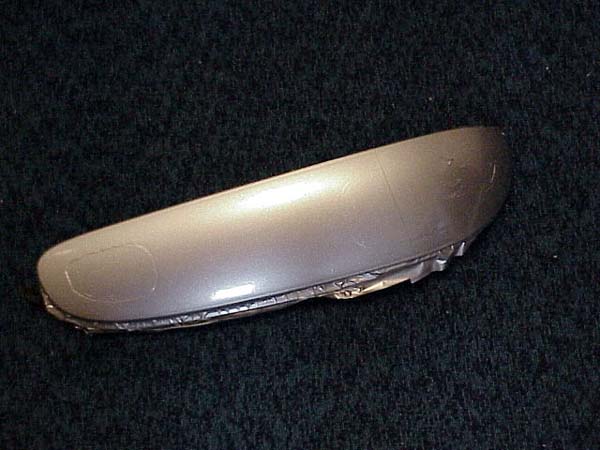
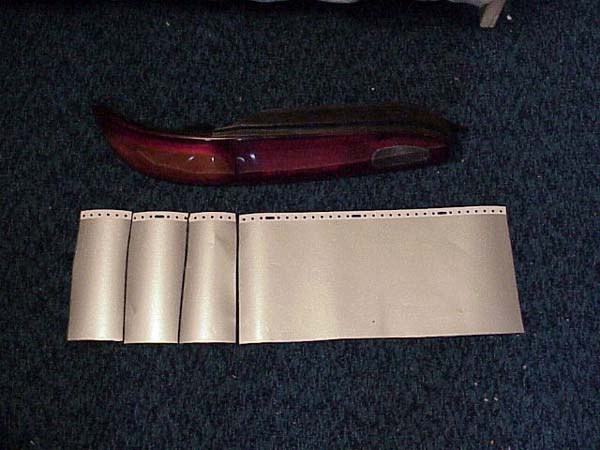
Step 3 - Now its time to apply the vinyl to the actual taillight. This may have to be done in two or three separate pieces because it is extremely difficult to apply a single piece of vinyl without bubbles and seams. Especially because our taillights have a curve at the end. You may find it helpful to lightly mist the taillight with Window cleaner before applying the vinyl so that you may "slide" it along. Try working out all the bubbles you can during this part of installation, although don't worry if a few escape you, later these can be popped. Repeat Step 2 & 3 for other side

Step 4 - After your vinyl is applied to the taillights, you can now begin cutting out the shapes that you want for you lights. I choose to make 2 circles and an semioval(the protractor tool REALLY helps), Just make sure not to press to hard on the light because you will cut the surface of the plastic.

Step 5 - Use your pin to pop and smooth out any extra bubbles in the vinyl.

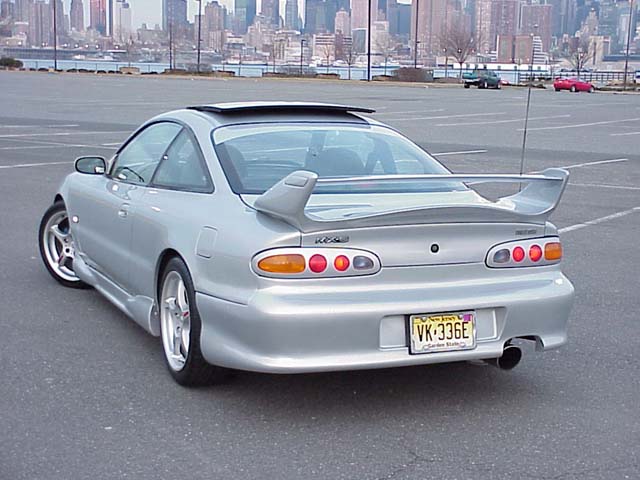
Step 6 - Enjoy you excellent looking taillights.

Attached Image

Attached Image


--------------------

93 KL03 5 Spd, Borla Cat-Back, PRM CAI, Eibach Lowering Springs, Pacesetter SS, NGK Wires

Next on List: HIFlow Cat, 65mm TB
 
Brandon696
The Street Racing Super Trooper
Group: Members
Posts: 338
Member No.: 34
Car Profile: Available
Status: Offline
Posted:Jul 10 2003, 06:29 AM
Thanks thats Great. Just to add a little though, you can also get the vinyl at any sticker/sign shop in your area and they sell foot by foot. You should be able to get it about 5 bucks and 18" wide. You can also remove the tail light to do this, which is done by removing a single screw. after that, just pull it out, its held in by four plastic fasteners. measure the light, and leave about 1 1/2" on all sides just in case. when using the multiple strips which is highly recommended, cut them into 3 small ones and 1 big one

Attached Image

Attached Image


--------------------
'Go Forth and Teach the Ways of the Six'
www.mx6.com
Anything you wanna know about the six Anything you wanna know about the RX-7
www.rx7club.com

1994 Mazda MX-6

 
Brandon696
The Street Racing Super Trooper
Group: Members
Posts: 338
Member No.: 34
Car Profile: Available
Status: Offline
Posted:Jul 10 2003, 06:30 AM
when putting it on use ALOT of water, or as six speed suggested, window cleaner. use a small squeegee and sgueegee the water out starting from the middle to the outer edge. Now, even these small strips may take you as long if not longer to do than the bigger piece. The reason ,again, is because of the curve. So just lay down the small strip overlapping the bigger one (you will cut it after) and proceed with the squeegeeing. Follow this procedure until you finish the entire tail light.

If you managed to do this and have a smooth flat surface with no air bubbles and no wrinkles, then you are home free. Now all you have to do is tuck in the excess film all around the light, making sure that none of the light is exposed. then simply and carefully cut the pieces that you overlapped in the curved area with the razor blade as to have the two pieces come together just right. Then trim off the excess vinyl around the edges of the tail light. once you do this, it should look like the picture.

after that just cut a design in that you like. i suggest doing what mx six speed done with the protractor with the blade, thats a great idea. or you can come up with a design of your own!

Attached Image

Attached Image


--------------------
'Go Forth and Teach the Ways of the Six'
www.mx6.com
Anything you wanna know about the six Anything you wanna know about the RX-7
www.rx7club.com

1994 Mazda MX-6

 
Brandon696
The Street Racing Super Trooper
Group: Members
Posts: 338
Member No.: 34
Car Profile: Available
Status: Offline
Posted:Jul 10 2003, 06:32 AM
Another Example

Attached Image

Attached Image


--------------------
'Go Forth and Teach the Ways of the Six'
www.mx6.com
Anything you wanna know about the six Anything you wanna know about the RX-7
www.rx7club.com

1994 Mazda MX-6

 
0 User(s) are reading this topic (0 Guests and 0 Anonymous Users)
0 Members:
5 replies since Oct 13 2002, 03:33 AM

<< Back to Appearance Modifications